Managed VPS (Virtual Private Server) hosting is a web hosting service where a hosting provider maintains and manages the technical aspects of a virtual server on behalf of you, the client. In this instance, the provider takes care of everything from server setup to maintenance, updates, security, and more.
Developers can benefit greatly from such a service since everything is already taken care of and it allows them to focus on developing and perfecting their apps and websites. Managed VPS hosting ensures high reliability and uptime, which is what developers need to keep working on their projects without being interrupted. In addition, this type of hosting offers advanced features and resources, tailoring the server environment to your specific requirements.
What’s more, managed VPS hosting streamlines development workflows by providing a stable, optimized and secure hosting environment. It can boost productivity as it enables faster development cycles and efficient collaboration.
In this article, we’ll go over some of the development tools and features that you will get by using this hosting service and show you how you, as a developer, can benefit from it.
Key Tools and Features Available for Developers
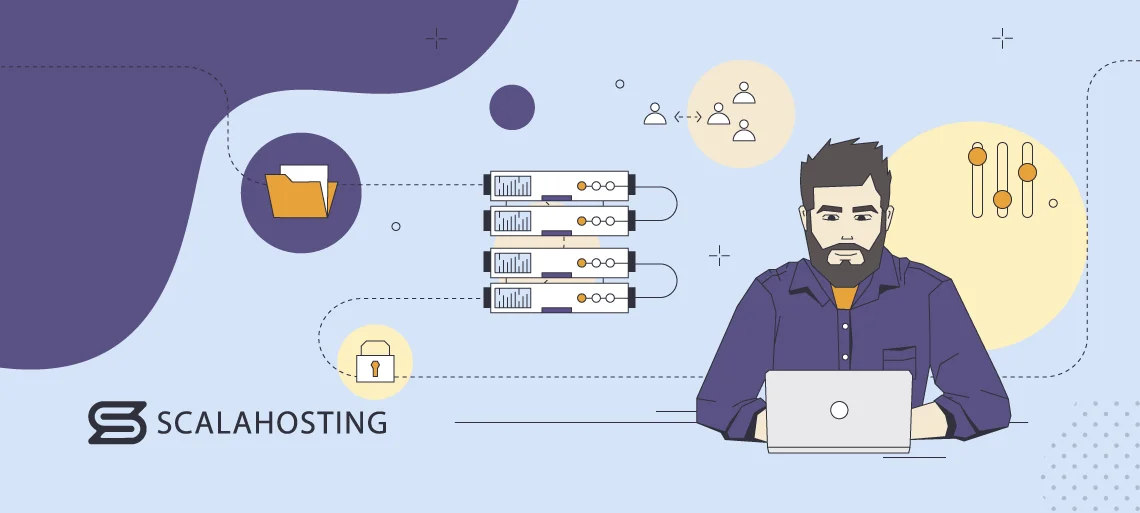
Managed VPS hosting offers a wide range of tools and features that developers can use in their daily activities.
Some of them include the following:
- Dedicated Resources: With managed VPS hosting, users get dedicated CPU, RAM, and storage, ensuring consistent performance for apps and websites, even during traffic spikes.
- Root Access: This web hosting service often offers some root access to users, which grants developers control over their servers. Consequently, developers will be able to install custom software, configure settings, and run all the programs and tools needed for their projects.
- SSH/FTP/SFTP: Managed VPS hosting provides you with SSH, FTP, and SFTP access, which, in turn, allows you to have remote access to your server.
- Collaboration Tools: Some managed VPS hosting providers offer robust collaboration tools that allow people to share code and work together on projects in real time.
- Scalability: Managed VPS hosting plans are highly scalable, which means that developers can use them to easily scale resources up and down based on their needs and without any downtime.
- Isolation: Each VPS user operates independently as they have their own private slot on the provider’s server. So, with this hosting service, developers won’t be affected by what other people on the server are doing.
- Enhanced Security: Managed VPS hosting includes powerful security measures like firewalls, DDoS protection, regular updates, and more.
- Development Staging: VPS allows developers to create staging environments where they can test apps, plugins, or updates in a controlled setting before they go live.
- Support for Various Apps: VPS supports a wide range of apps, frameworks, and programming languages, giving developers the ability to work with the technologies they want.
Development Environment Setup
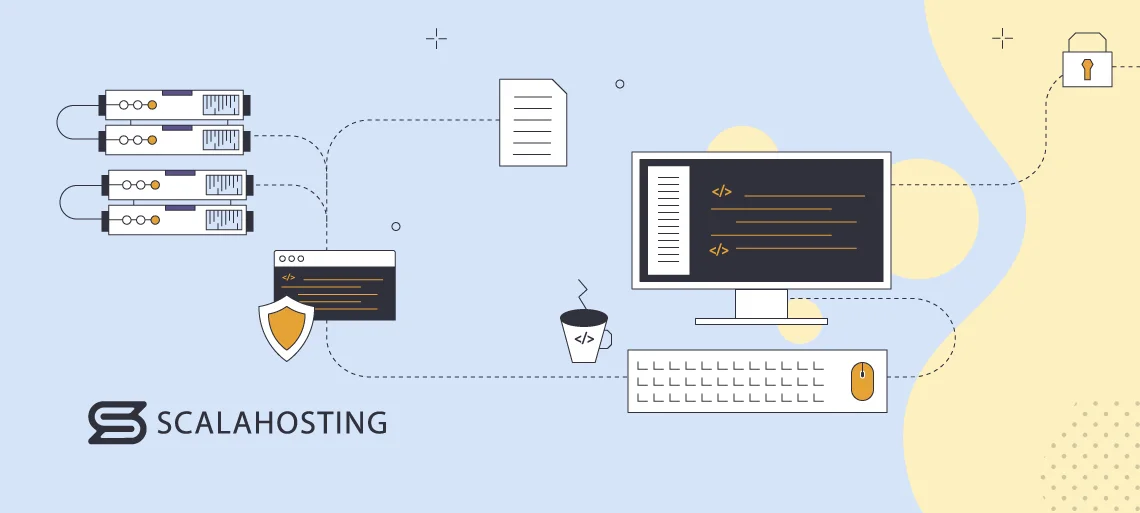
To start using all the development features and tools that managed VPS hosting offers, you must first set up your environment.
In this section, you’ll find a comprehensive guide on how to set up your development area, how to use SSH and FTP/SFTP for remote server access, and how to establish and manage version control systems for collaborative development.
Setting up Development Environments With Managed VPS Hosting
The first thing you need to do to configure your development environment is to access your managed VPS hosting provider’s dashboard. Then, create a new virtual server instance and choose the OS you want to use, as well as the programming languages and web server software.
After that, you can install all the development tools, libraries, and databases that you need for your project. Once you do all of this, your new development environment will be ready for your customizations.
Using SSH for Remote Server Access
SSH (Secure Shell) provides encrypted communication for remote access to your server. With its help, you can securely access your environment regardless of your device or location.
To connect to your server via SSH, open a terminal window on your computer and type the following command:
ssh username@your_server_ip_address
Instead of “username,” write down your server username, and instead of “your_server_ip_address,” – the IP address of your VPS.
All that is left is to enter your password and you’ll get instant access to your server.
Using FTP/SFTP for File Transfer
FTP (File Transfer Protocol) and SFTP (Secure File Transfer Protocol) enable you to transfer files between your computer and your virtual private server. Most managed VPS providers support these protocols, allowing you to move around your data whenever you want with zero effort.
To use FTP/SFTP for file transfer, you need to install an FTP client, such as FileZilla. Then, enter your server IP, username, and password. For SFTP, you need to specify port 22 and choose SFTP as the protocol.
Setting up and Managing Version Control Systems
To show you how to set up and manage version control systems with your VPS, we’ll use Git as an example.
First, install Git on your VPS. Some web hosting providers, like ScalaHosting, already have Git installed, which is a big plus. But if you don’t already have it on your server – you can install this version control system by running the following command:
sudo apt-get update
sudo apt-get install git
Then, create a Git repository for your project. Navigate to your project folder using the terminal and initialize a Git repository with the following command:
git init
Now, create a “.gitignore” file to exclude files from version control.
Using Git, you can set up remote repositories. To do that, you need to open GitHub or GitLab and create a new repository. Copy the repository URL and link the local repository with the remote repository with the following command:
git remote add origin your_remote_repository_url
Replace “your_remote_repository_url” with the URL of your Git repository. Now, to make changes to your repository – use the following command:
git add .
git commit -m “Your commit message here”
git push -u origin master
If all is successful, you’ll allow collaborators to clone your repository, make changes, commit them, and push them back.
Now that you know how to set up a development environment with your managed VPS, let’s take a look at the features and tools you can use for your online project.
Development Frameworks and Stacks
Most managed VPS hosting services support many different development frameworks and stacks, providing you with all the tools you need to create and deploy your projects easily. Some of the most popular options include Laravel for PHP, Django for Python, and Node.js for JavaScript.
Below, you’ll find a tutorial on how to integrate and deploy apps using these frameworks on a managed VPS, as well as how to leverage pre-configured stacks for fast app development.
Integration and Deployment Options
Laravel

To deploy an app using the Laravel framework, you’ll need to do the following:
- SSH: Use SSH to access your server. Then, upload your Laravel project files to your server via Git or SFTP.
- Dependencies: Install PHP, Composer, and the required extensions, and then use Composer to install Laravel dependencies.
- Setup Your Database: Configure your database connection in the “.env” file. In this step, you can use tools like Artisan for seeding and migrations.
- Web Server Configuration: Now, configure your web server (like Apache or Nginx) to point to your Laravel app’s public directory.
- Deployment: Utilize Git for version control. Pull changes from your repository and run database migrations after every update.
Django

To deploy apps via the Django framework, do the following:
- SSH: Use SSH to get into your server and set up a virtual environment.
- Dependencies: Install Python, pip, and Django within the virtual environment.
- Setup Your Database: Configure your database settings in Django’s settings.py file. Then, run migrations to set up the database schema.
- Web Server Configurations: Configure your Apache or Nginx server as a reverse proxy to serve the Django apps.
- Deployment: Use Git or Fabric for deployment automation. Pull changes, install dependencies, and restart the app server when you’re done.
Node.js

To deploy apps via the Node.js environment, you should:
- SSH: Access your server via SSH and upload your Node.js app files.
- Dependencies: Install Node.js and npm. Then, use npm to install application dependencies defined in the package.json file.
- Setup Your Database: Connect your Node.js app to the database. You can use frameworks like Express.js to create APIs and routes.
- Web Server Configuration: Use process managers like PM2 to manage your Node.js app and configure your web server as a reverse proxy.
- Deployment: Use Git for version control, pull changes, and restart the Node.js app using PM2 after updating the codebase.
Leveraging Pre-configured Server Stacks
Many managed VPS hosting providers offer pre-configured server stacks that are tailored to specific frameworks. These pre-configured stacks come with optimized settings, security features, and all the essential software pre-installed. Thus, they can decrease the time it takes for you to deploy apps greatly.
To use pre-configured server stacks:
- Select the Appropriate Stack: Choose a server stack that matches your development framework. For example, pick LAMP for Laravel; pick Django for the Django stack; choose MEAN for Node.js.
- App Deployment: Upload your app files to the designated directory within the pre-configured stack. Then, configure the stack-specific settings per your requirements.
- Database and Server Configuration: Most pre-configured stacks come with already-installed databases. If that’s the case – all you’ll need to do is configure the server settings in your app.
- Testing and Launch: Test your app within the pre-configured environment. Once you’re satisfied – launch your app by setting up your domain settings and DNS records.
Continuous Integration and Deployment (CI/CD) Pipelines
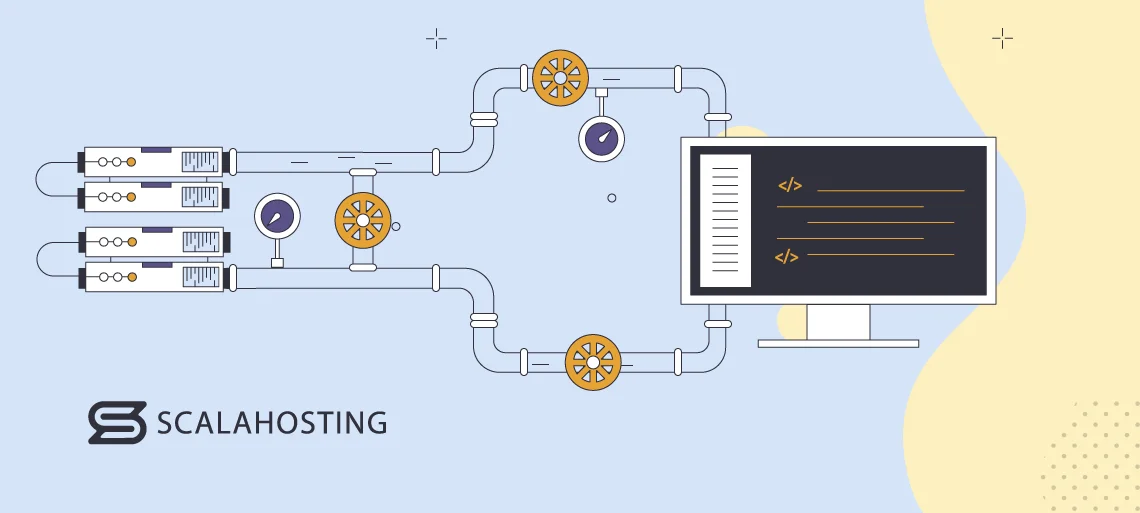
Continuous Integration and Deployment (CI/CD) pipelines ensure fast, reliable, and automated building, testing, and deployment of apps. Managed VPS hosting environments can host these pipelines, effectively allowing developers to automate tasks and streamline their workflows.
One way to set up CI/CD pipelines on managed VPS hosting is by using tools like Jenkins, GitLab CI/CD, or CircleCI.
Let’s explore how you can use them to our advantage.
- Choose the Appropriate CI/CD Tool
The best way to choose which CI/CD tool you’ll use is by taking your project’s requirements into consideration.
Jenkins is an open-source automation server that allows you to build, test, and launch software. It is written in the Java programming language. GitLab CI/CD is great for those who want to integrate with GitLab repositories, while CircleCI is a cloud-based service that allows you to automate your entire testing suite and reduce the potential for human error.
- Set Up Your CI/CD Pipelines
- Connect your CI/CD tool to your version control repository. Then, configure webhooks or triggers to initiate builds automatically upon pull requests or code commits.
- Now, define build scripts in your repository by specifying the build commands, dependencies, and environment configurations. This allows your CI/CD tool to execute these scripts whenever it detects changes.
- Implement testing stages in your pipeline, including unit tests, integration tests, and code quality checks.
- Configure deployment stages to different environments by specifying deployment scripts and settings.
- Set Up Testing and Deployment Stages
- Unit Testing: Unit tests help you validate individual components of your app. CI/CD tools can automatically execute these tests and give you feedback about your code.
- Integration Testing: Integration tests allow you to verify interactions between components. Also, they help you ensure that integrated parts of your app function as they should.
- Code Quality Checks: You can use static code analysis tools to maintain your code’s quality standards. Also, CI/CD pipelines can flag issues for you, which is always helpful.
- Deployment: Use deployment scripts to automate deployment to different environments. Your CI/CD tool will deploy the app on your managed VPS, ensuring consistency in all environments.
- Monitor Your CI/CD Pipeline
It’s essential that you continue to monitor your CI/CD pipeline once everything is set up. This will allow you to detect issues, track your app’s performance, and get user feedback. To do this, you can use monitoring tools and integrate them into your CI/CD pipeline.
Development Collaboration and Communication
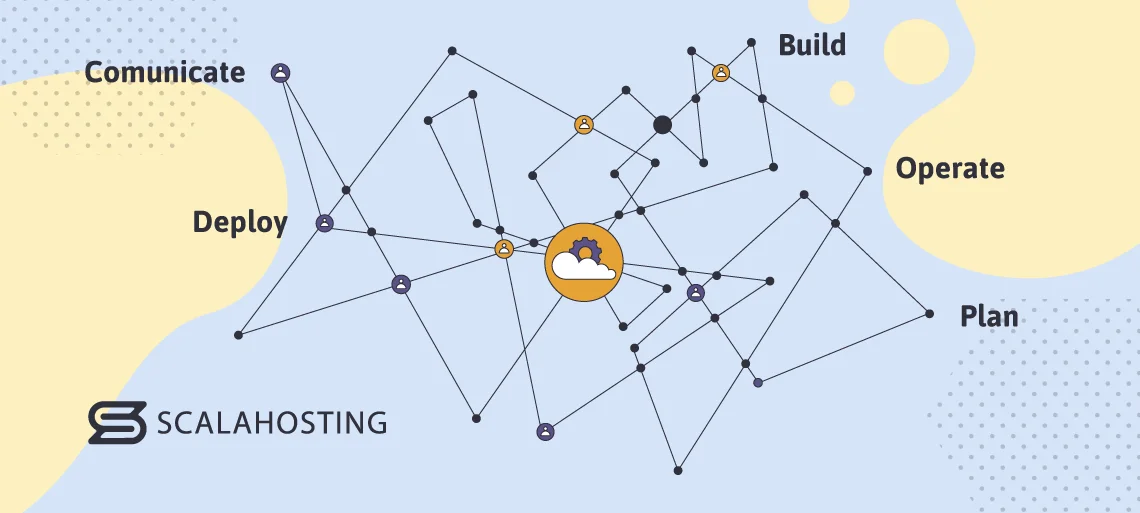
Managed VPS solutions can help developers streamline communication and collaboration among their team members and make working on projects much easier. Some of the most popular collaboration tools for software development include Google Workspace, GitHub, Jira, Confluence, Trello, GitLab, Hubstaff Tasks, Slack, and Zoom.
Using tools like these will not only help you improve communication among your team members, but they will also make your project-creation process much faster. In addition to communication and collaboration tools, managed VPS hosting allows you to use project management systems, chat applications, and collaboration platforms to make your workflow even more efficient.
Most managed VPS providers allow seamless integration with popular project management platforms like Jira, Trello, and Asana, among others. You can use these platforms to link development tasks with specific server configurations, as well as track tasks and allocation and ensure that all your efforts are synchronized with the project’s timeline.
Chat applications and collaboration platforms like Slack, Microsoft Teams, and Discord are among the go-to choices for most developers and are supported by most managed VPS hosting providers. These tools allow you to be in constant contact with your team members and lead focused discussions.
Lastly, platforms like GitHub and GitLab provide version control, issue tracking and code review features, ensuring that every member of your team knows what’s going on at all times.
So, how can you create an efficient communication and code collaboration system on your managed VPS?
Well, you can do that easily by using a version control system like Git. Luckily, most managed VPS hosts support Git, so you’ll be able to easily create a productive workflow for both you and your team members.
Development Database Management
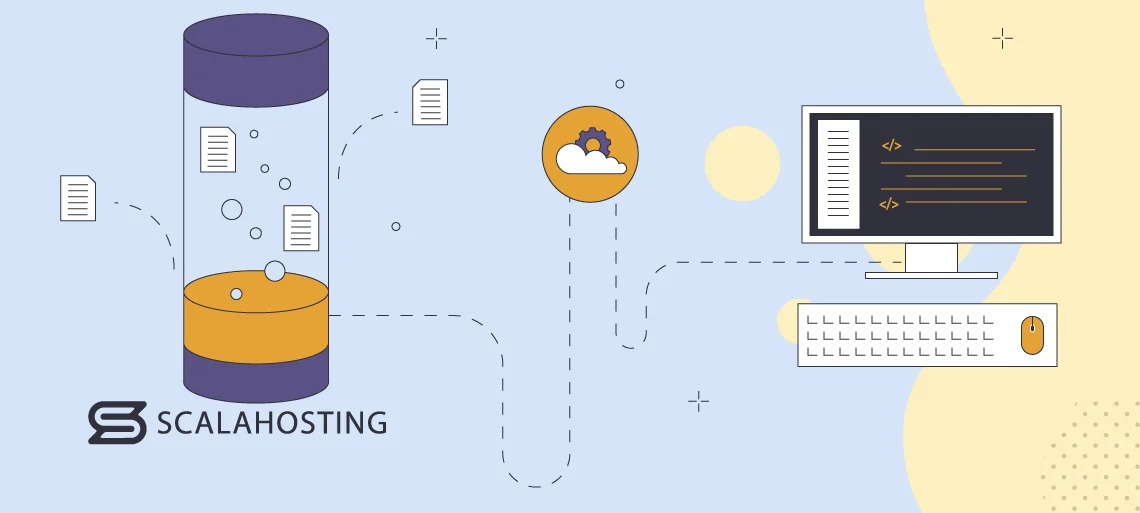
Setting up and managing a database on a managed VPS involves a few simple steps that ensure optimal performance and data security:
- Install a Database Management System: Some of the most popular database management systems you can use with your managed VPS include MySQL, PostgreSQL, and MongoDB. You can install them on your server (if they’re not already) by accessing your server via SSH and using the package manager.
- Configure Your Database Server: Next, you need to configure your database server by setting up user permissions and implementing security measures like firewalls.
- Create Your Database: Now, you can create your databases, tables, and indexes per your requirements.
- Backup Your Databases: Regular backups ensure that you don’t lose any of your data. Most managed VPS providers come with backup solutions themselves, but if yours doesn’t, you can use a third-party backup solution.
- Monitor Your Databases: You can use monitoring tools to track your databases’ performance and fix issues immediately.
- Boost Your Security: This is an additional step that is recommended for all developers. Namely, you can boost your security by enabling features like SSL encryption and database replication.
Pros and Cons of Using Managed VPS Hosting
| Pros | Cons |
|---|---|
| Expert technical support and 24/7 server management | More expensive than unmanaged VPS hosting |
| Reliable performance with dedicated resources | Some limitations in customization |
| Scalability and full server control | |
| Robust security measures | |
| A wide range of development features and tools |
If you need powerful managed VPS services, then you should check out ScalaHosting. It offers excellent virtual private servers that come with its powerful SPanel control panel and its very own SShield security system. Also, Scala allows you to build your own custom cloud VPS and create the perfect development environment for your projects.

Conclusion
Managed VPS hosting is the perfect hosting environment for developers. It comes with powerful performance and dedicated resources and gives you control over your server. It also supports a wide range of development tools and features that will help you make your workflows much more efficient and productive.
One provider that can give you everything you need to create the perfect development environment for you and your team is ScalaHosting. Our managed VPS hosting plans offer flexible resources, 24/7 expert support, and the ability to build your own VPS from scratch.
FAQ
Q: Which are the best automation tools for software developers?
A: Some of the best and most popular automation tools for developers include the following:
- New Relic;
- Docker;
- Ray.gun;
- Splunk Enterprise;
- Bamboo;
- Git;
- Kubernetes;
- Jenkins;
- Ansible.
Q: What is containerization, and which is the best containerization platform?
A: Containerization is a process that bundles an application’s code with all the libraries and files it needs to run. It allows apps to run in isolated spaces (containers). It also helps developers to deploy apps in multiple environments without rewriting the code each time. Docker is one of the most popular containerization platforms on the market, and it’s fully compatible with managed VPS hosting.
Q: What’s the difference between FTP and SFTP?
A: FTP is the original file transfer protocol that allows you to transfer files from your computer to your server. SFTP does the same, but it’s much more secure than FTP, which is why it’s considered the better choice in many occasions.


