Squarespace is a fantastic platform for launching a website quickly. But as your needs grow, its limitations can become frustrating, which is where WordPress comes in. Whether you’re seeking better customization, lower costs, or stronger SEO control, migrating to WordPress is the best move you can make.This guide walks you through the entire process step-by-step, showing you exactly how to migrate Squarespace to WordPress in 6 simple steps while your site remains intact. By the end, you’ll have a faster, more flexible WordPress site – without the technical overwhelm.
TL;DR – What You’ll Do With This Guide
- Set up WordPress Hosting;
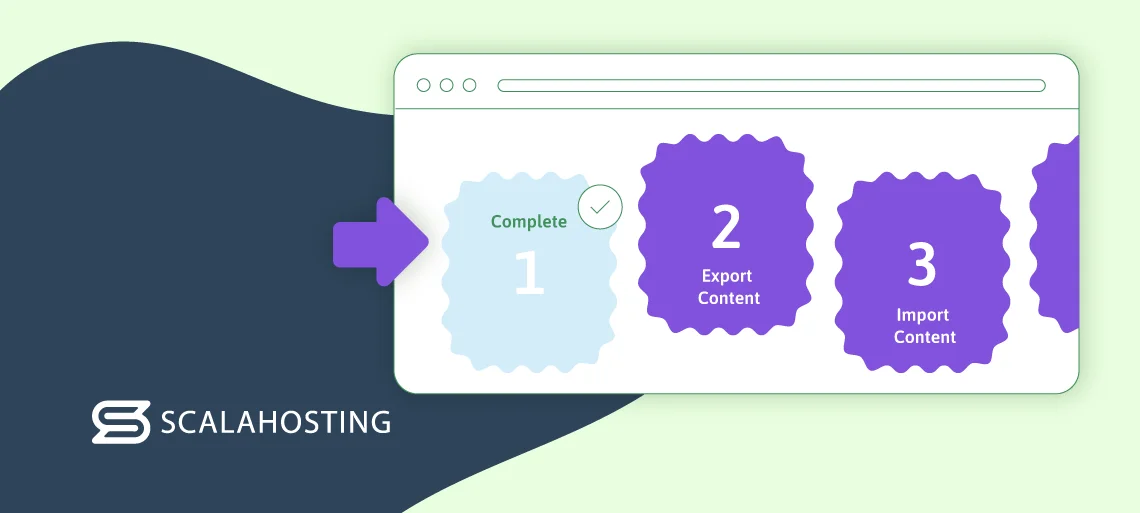
- Export Your Squarespace Content;
- Import Content Into WordPress;
- Rebuild Your Design Using Spectra’s Visual Tools;
- Preserve SEO With Redirects and Plugins;
- Launch and Optimize Your New and Improved Site.
Let’s dive in!
Why Move From Squarespace to WordPress in the First Place?
There are quite a few reasons why people choose to migrate from Squarespace to WordPress. Some of the best examples are:
- Unlimited Customization: WordPress themes and plugins let you build anything you want, no matter how complex or simple.
- Cost Efficiency: No need for premium Squarespace plans – with WordPress, you’ll pay only for what you need and use.
- SEO Control: WordPress comes with options to fine-tune your metadata, URLs, and schema markup.
- Data Ownership: With WordPress, your site is 100% yours, which is not the case with Squarespace.
- Scalability: WordPress is ideal for growth and scaling as it offers no caps or limits.
Before You Begin: Your Pre-Migration Checklist

Before you even start to migrate Squarespace to WordPress, you’ll need the following:
- Access to Your Squarespace Admin: Make sure you can log in and export your Squarespace content.
- Choose a WordPress Host: For the best speed and support, we recommend our WordPress + Spectra stack. It combines powerful hosting, an intuitive WordPress management tool, and free migration assistance to make the process seamless.
- WordPress Installed and Ready: Your new WordPress host should provide a simple way to install the CMS. With ScalaHosting, this is done with a one-click installer in your control panel. The 24/7 Support Team can also do the initial configuration for you.
- Back up Your Squarespace Site: Use built-in tools or third-party services to back up your site before migrating it to WordPress.
- Note Your Design Preferences: Screenshot layouts, colors, and fonts to give you a general idea of how you want your site to look post-migration.
What Won’t Be Transferred Automatically From Squarespace
Unfortunately, not everything moves seamlessly when you transfer Squarespace to WordPress. You’ll have to be prepared to handle a few things manually:
- Custom Styling and Layout (CSS/JavaScript): Squarespace’s code won’t carry over. You’ll have to redo your styling and layout manually in WordPress.
- Image Galleries and Block Content: You have to rebuild these in WordPress.
- Product Pages or Store Setups: If you have a store on your site, you’ll have to migrate products manually and use a plugin like WooCommerce for the new shop.
- SEO Metadata: Redirects and meta tags need to be rebuilt manually or with tools that can make the whole process much easier and faster.
Your Ultimate Step-By-Step Migration Guide
Step 1: Set Up WordPress and Hosting
Your hosting choice impacts speed, security, and how easy it will be for you to transfer Squarespace to WordPress. For beginners and those who want to complete the whole process quickly and seamlessly, a managed WordPress host like ScalaHosting simplifies the entire setup. No matter which host you choose, the first step will always involve the following:
- Choose a WordPress-Optimized Host;
- Install WordPress: With ScalaHosting, you can install WordPress with one simple click or ask our team to help you with the installation process.
- Secure Your Domain: You can do this by either transferring it from Squarespace or connecting it via DNS settings.
- Transferring Your Domain From Squarespace:
- Log into Squarespace;
- Go to Domains;
- Select your domain;
- Click Transfer Domain Out and follow the prompts to unlock it;
- Request an authorization code (EPP code) via email;
- Sign up for WordPress hosting;
- Go to your host’s domain transfer page and enter your domain and EPP code;
- Pay any transfer fees (domains usually renew for 1 year during transfers);
- Confirm your transfer via the email you’ll receive from Squarespace ;
- Wait 5-7 days for the transfer to complete.
- Connecting Your Domain Via DNS Settings:
- After setting up your WordPress hosting, your provider will give you nameservers. These usually look like: ns1.scalahosting.com, ns2.scalahosting.com;
- Log into Squarespace;
- Go to Domains;
- Select your domain;
- Click DNS Settings;
- Then choose Nameservers;
- Click Custom;
- Delete the existing nameservers and add your new ones;
- Wait 24-48 hours for the change to take effect.
Step 2: Export Content From Squarespace
- Access the Squarespace Export Tool: To do this, you first need to log into your Squarespace account. Then, go to Settings, which can be found in the main menu under the gear icon. Scroll down to Advanced and click Import/Export;
- Generate the WordPress Export File: First, click the Export button with the WordPress logo on it. A pop-up will appear, in which you need to select WordPress. This creates an .xml file. Once you do this, you need to wait a few seconds for Squarespace to compile your content.
- Download the .xml File: When prompted, click Download to save the file to your device.
The Squarespace export tool is quite handy as it includes the following content in the export:
- Blog Posts: This includes all the written articles on your site.
- Basic Pages: This includes your Home, About, Contact, and other basic web pages.
- Images: This includes the images embedded in posts/pages.
IMPORTANT: Your images may lose original file names or alt text. You should double-check and rename/edit them if needed.
However, the Squarespace export tool doesn’t include the following:
- Custom Styling: Including fonts, colors, CSS, etc.
- Product Pages (ecommerce);
- Galleries, Portfolios, or Specialized Content Blocks;
- SEO Metadata: Including titles and descriptions.
Step 3: Import Content into WordPress
To import content into WordPress, you need to use the WordPress Importer. Do the following:
- Open Your WordPress Dashboard;
- Install the Tool: go to Tools and install the WordPress Importer;
- Upload Your .xml file;
- Assign Content to a User: people usually assign the content to themselves in this step.
When importing your content, you might encounter problems with your images and their formatting. To fix this, do the following:
- Use the Auto Upload Images plugin to re-import media to WordPress;
- Remove Squarespace-specific shortcodes to clean up your formatting – you can use plugins like Shortcode Cleaner to do this;
- Paste all your formatting as plain text in your WordPress editor to avoid hidden formatting;
Step 4: Rebuild Your Design Using Spectra
Spectra is a freemium WordPress page builder plugin that offers a complete block-based design experience and helps users design and customize their WordPress sites. You can use Spectra to design your entire website once you migrate from Squarespace to WordPress.
To use Spectra, you need to:
- Install the Spectra plugin, which is included with ScalaHosting’s WordPress plans;
- Choose a pre-built template or design your website from scratch;
- Use Spectra’s blocks to replicate your Squarespace layout.
If you want to design your website using Spectra’s prebuilt layouts and templates, all you need to do is open Starter Templates via the dashboard. From there, you’ll get access to 100+ options for things like blogs, portfolios, ecommerce sites, and more.
Once you choose the layout you like, you simply need to click Import and use the design for your WordPress website.
On the other hand, if you want to use Spectra to create the outlook of your site from scratch, you can easily do that with the following:
- Start with a Container Block: Add a Container block (flexbox-powered) to structure sections like hero areas or grids, just like Squarespace’s layout engine.
- Add Core Blocks: Use options like Image Gallery for portfolios, Content Timeline for blogs, or Testimonials for social proof – all customizable with animations and spacing.
- Use Wireframe Blocks: You can sketch your WordPress website design before you actually start creating it via Spectra’s Wireframe Blocks to plan your spacing and structure.
Many users like Spectra because they can use it to recreate the layout they had while they were using Squarespace for their websites. Here are some tips that can help you match Squarespace’s look and feel in WordPress:
- Use Global Styles for Consistency: Set default fonts, colors, and button styles in Spectra > Global Settings to unify your design, mirroring the Style Editor in Squarespace.
- Replicate Grid Layouts: For galleries or product grids, use Spectra’s Image Grid block with adjustable columns, gaps, and hover effects.
- Copy-Paste Design: Use Spectra Copy Paste to duplicate custom blocks like a styled button or header across pages. This will help you ensure design consistency.
- Mimic Animations: You can apply entrance effects like fade or slide to blocks under the Advanced tab. These subtle motions will help you keep the Squarespace-like polish.
- Optimize for Mobile: Just like the Squarespace editor, you can use Spectra’s responsive controls to tweak column stacking, font sizes, and padding for mobile.
Step 5: Preserve SEO and Redirects
To preserve your SEO and ranking on search engines, as well as keep your redirects structure, you need to do the following:
- Set Permalinks: To do this, go to Settings, then click Permalinks and choose Post Name for clean URLs.
- Redirect Old URLs: First, install the Redirection plugin in WordPress. Then, add 301 redirects for every Squarespace page – e.g.,/old-blog-post > /new-blog-post.
- Submit Sitemap: You can use plugins like Rank Math or Yoast SEO to generate a sitemap. Once created, submit it to Google Search Console.
- Rebuild Meta Tags: You can manually add titles and descriptions or use an SEO plugin like Yoast SEO or Rank Math. If you choose the latter option, you need to install the chosen SEO add-on via your WordPress dashboard. You can then rebuild your meta tags and ensure your SEO is preserved.
Step 6: Final Checks and Launch
Make sure you check all of the following elements before you launch your site:
- Test Mobile Responsiveness: You can do this via Spectra’s mobile preview feature;
- Check Your Internal Links: Click on all your internal links to make sure they’re correct and working properly;
- Check Your Menus: Open all your menus to ensure they lead to the right page;
- Optimize Your Photos: You can do this with tools like Smush or ShortPixel;
- Check Your Speed: Test how long it takes for your website to open. Also, check each page’s speed to ensure it opens quickly.
- Install Essential Plugins: For security, you can use Wordfence; for backups, you can use UpdraftPlus; for forms – WPForms, and so on.
When everything is in place, you need to point your domain to the new host and deactivate your Squarespace site. Once you complete all the steps mentioned in this guide, you’ll be ready to launch your new WordPress website!
After Migration: What’s Next?
Now that you know how to migrate from Squarespace to WordPress and have successfully completed the process, it’s time to refine your site and ensure it grows as time passes. To do this, the first thing you should look into is customizing your site with plugins.
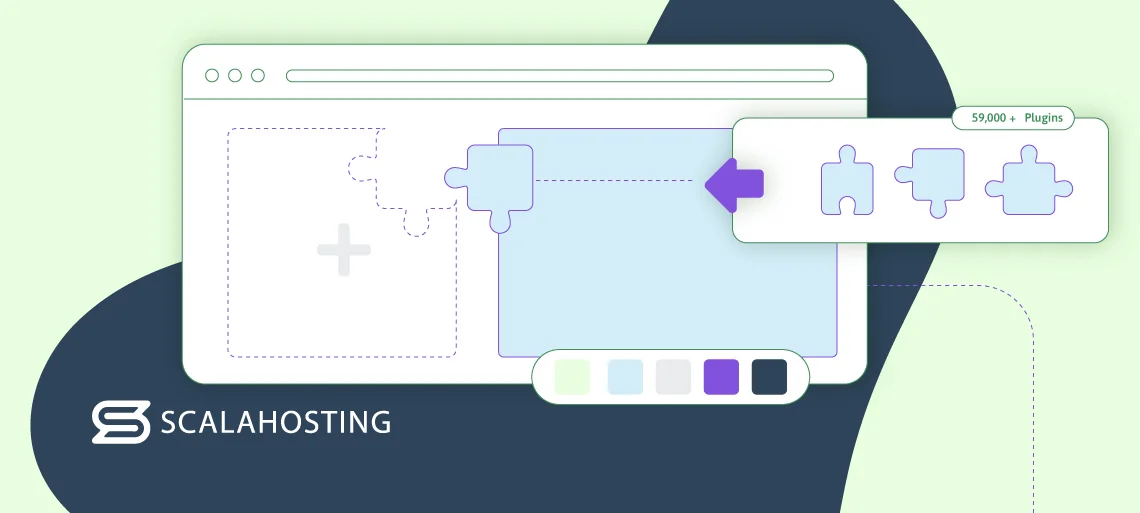
WordPress is widely known for its amazing add-on environment, offering over 59,000 plugins to all users. You can use them to improve your security, boost your speed, become even more competitive, etc. However, when doing this, it’s imperative that you don’t overload on plugins. Stick to essentials – tools that solve specific problems.
Next, you can also monetize your WordPress site by adding ecommerce functionalities with WooCommerce. Installing and using WooCommerce is pretty straightforward. All you need to do is add the plugin via your WordPress dashboard, import products manually, and design your store. This will help you boost sales and allow customers to buy what you offer directly from your site instead of going to third-party providers.
Furthermore, you can use Spectra to make future pages and updates. Namely, you can use it to prepare for sales or promotions beforehand, as it allows you to create pages and launch them later on. This will help you better manage your workflow, meet deadlines, and ensure all promos, sales, and other seasonal or rare events go off without a hitch.
All website owners must always maintain their websites and keep track of their performance. To do that, they need to set up analytics that will help you track traffic and monitor SEO health. The former can be done by integrating Google Analytics into your site and using plugins like MonsterInsights to get all the data you need on your dashboard. The latter can be done with tools like Ahrefs or SEMrush, which will allow you to track your site rankings and backlinks.
Moreover, automating backups is a must, as it ensures your site is always backed up and ready in case of any unfortunate events. You can do this yourself via plugins or get a team of professionals to do it for you via your web host. For example, at ScalaHosting, we offer free automated backups to all our clients, ensuring everything is done correctly and your files and content are always safe in offsite locations.
Last but not least, setting up routine updates is critical, as outdated tools and software are major security risks. Thus, you need to follow a tight update schedule or enable auto-updates. If neither of these options seems good enough for you, you can rely on your provider to update everything for you. Not all hosts do this, but at ScalaHosting, we offer a robust tool called WordPress Manager that makes all the necessary updates and offers enterprise-level WP security!
How ScalaHosting Makes Your Migration and WordPress Hosting Journey Much Better
The ScalaHosting WordPress service stands out from most other hosting providers for a few reasons.
First, it allows all users to leverage Spectra and make their WP website unique. The ScalaHosting + Spectra combination will give you everything you need to successfully migrate Squarespace to WordPress and ensure your website is much better than ever.
Furthermore, we offer a powerful WordPress tool called WordPress Manager to help you operate your website easily. With it, all your updates will be done automatically and on time, ensuring you always use the newest versions of the app and all plugins in your roster. The tool allows you to install WordPress with one simple click, and it comes with Security LOCK, which makes WordPress extremely secure.
As if that isn’t enough, all our servers are cloud-based for lightning-fast speeds and 99.9% uptime. We’ll make your website much faster than ever before and provide 24/7 expert support for any and all issues regarding your web hosting and other technical issues!


Final Thoughts
Migrating from Squarespace to WordPress is a smart move and much easier than it sounds when done right. By following the steps outlined above and using a robust WordPress plan, you’ll gain full control over your site design, SEO, and growth – and our team of experts will be by your side every step of the way to help you switch without stress!
FAQ
Q: Will I lose SEO rankings in the migration?
A: No – if you set up redirects and preserve URL structures, you won’t lose any SEO rankings while migrating to WordPress. Depending on where you’re moving from, you might have to recreate some page elements or content, but if you follow the right procedures, no data will be lost.
Q: Can I make my WordPress site look like my old one?
A: Yes. You can recreate your Squarespace site outlook in WordPress with tools like Spectra, as its templates and blocks allow you to mirror Squarespace’s design and your previous website layout. Still, keep in mind that keeping a 1:1 outlook is next to impossible if you’re not a skilled developer.
Q: What happens to my Squarespace blog posts?
A: By following the steps to transfer Squarespace to WordPress, you’ll automatically transfer your blog posts and ensure that all of them are included in your WordPress site. Afterward, just clean up the formatting.
Q: Is WordPress too hard to manage?
A: WordPress might have a bit of a learning curve compared to Squarespace, but its power lies in its flexibility. While you can manage it yourself, using a managed WordPress host like ScalaHosting automates the difficult parts—updates, security, and backups—with tools like our WordPress Manager, making it just as easy to handle day-to-day operations.
