There are some reasons why you should build and test your website locally. It enables you to test out themes, plugins, and files before your website goes live.
One of the major ways to build a WordPress site locally is to use an application called XAMPP. This article will walk you through the step-by-step process of installing WordPress on Windows using XAMPP.
Install WordPress On Windows Using XAMPP
Step 1: Download and Install XAMPP locally
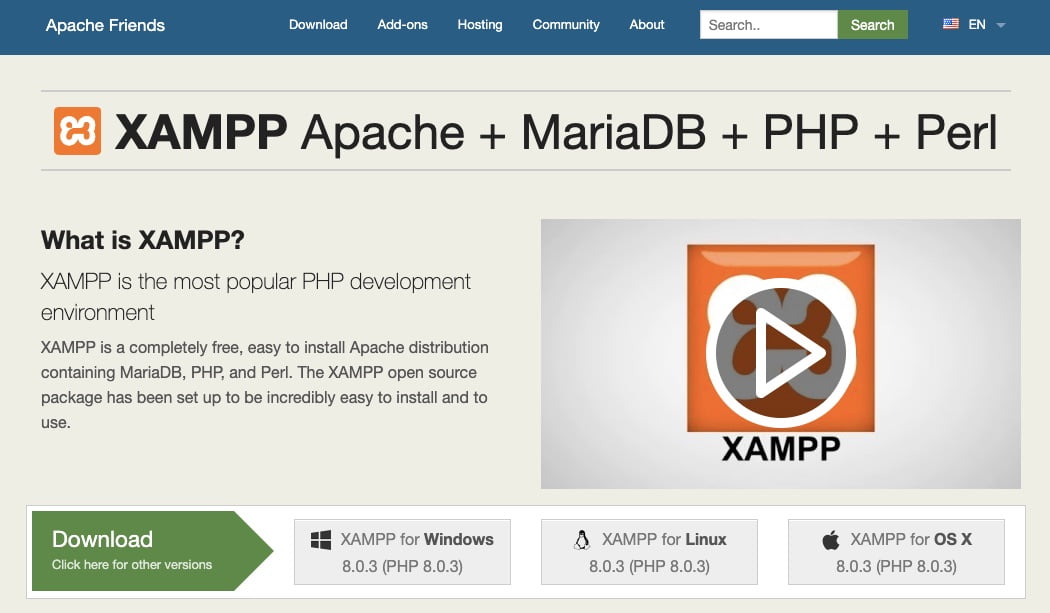
XAMPP is an abbreviation for cross-platform, Apache, MySQL, PHP, and Perl. You can download XAMPP from a website named Apache Friends.
Select a compatible file version from the list of options and click the download button. The average size of a XAMPP file is about 150MB, so this might take a few minutes to download completely, depending on your network connection.
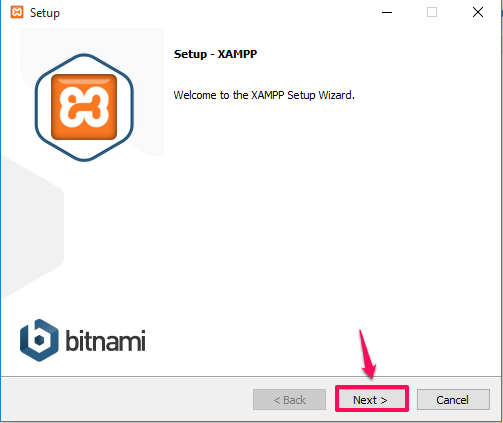
After downloading, run the file to launch the XAMPP installer
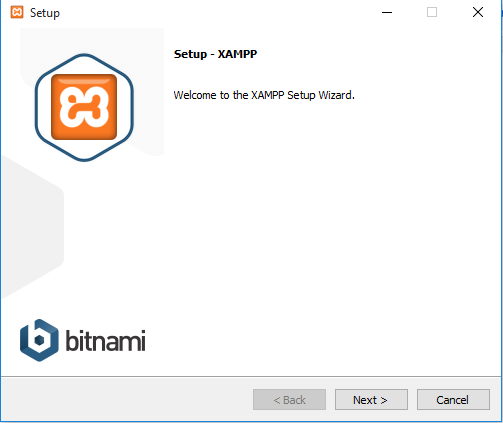
Click on the Next button
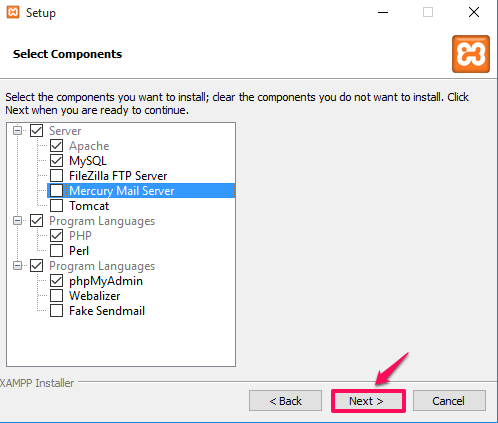
To install your WordPress website locally, the required modules are MySQL and phpMyAdmin. Uncheck every other component and click the Next button
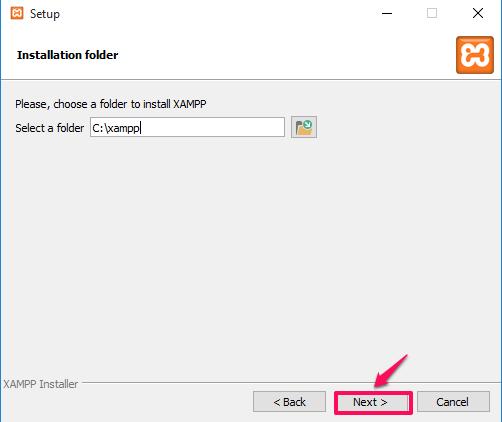
Select a folder to install XAMPP but just leave it at the default option if you are not sure.
Click on the Next button.
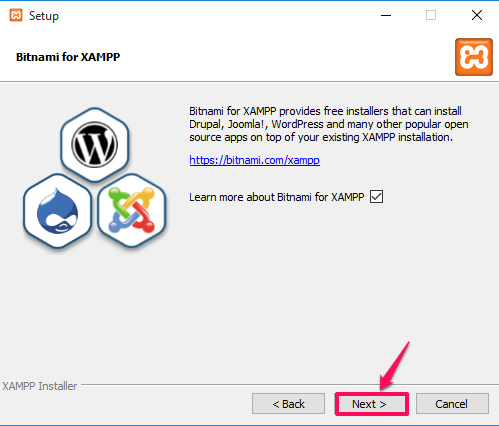
A new screen will pop up asking you to install Bitnami for XAMPP. Installing Bitnami is not necessary when installing WordPress locally, so you are to uncheck the box.
Click on the Next button.
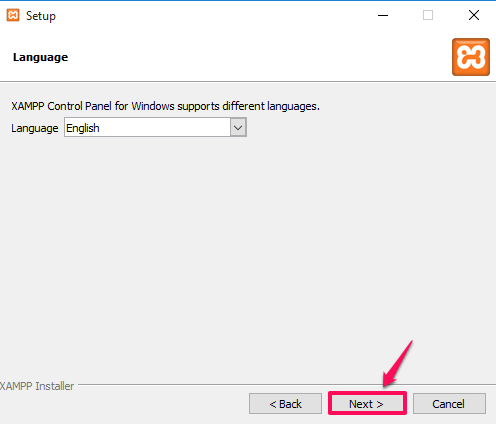
It will request for your preferred language. Click on the Next button
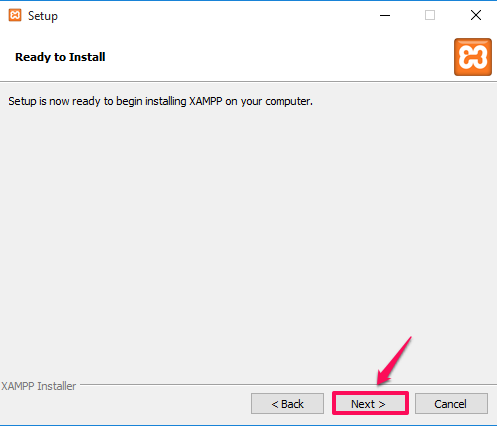
The new screen reads that you are now ready to Install. Click on the Next button.
The installation process might take a few minutes
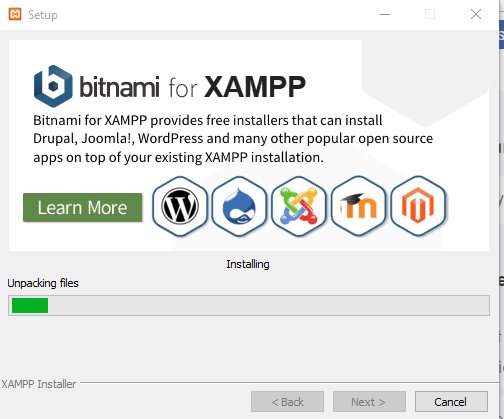
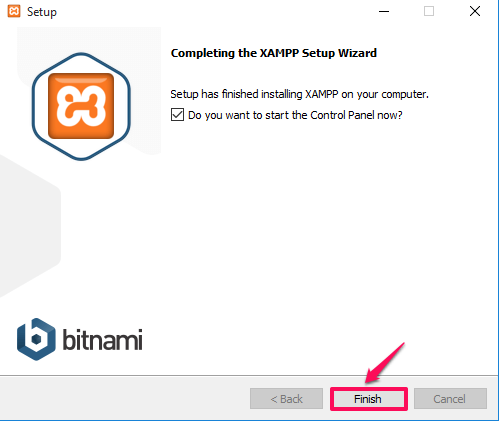
After installing, you have the option to launch the XAMPP control panel
Click on the Finish button
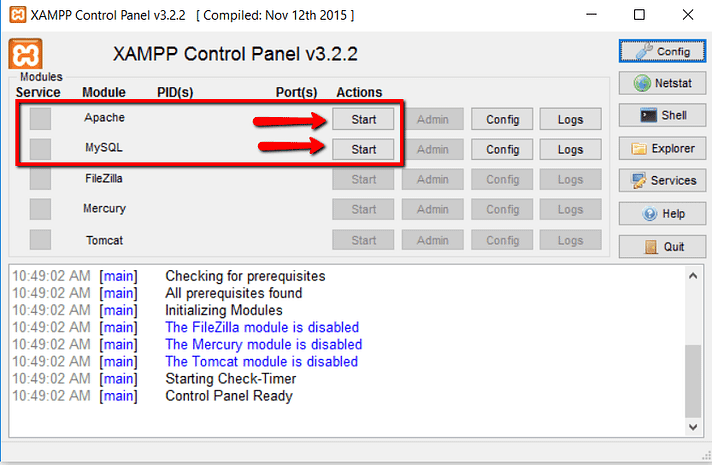
Step 2: Run the Apache and MySQL modules
For your WordPress to function locally, you would have to run two modules – Apache and MySQL, through the control panel.
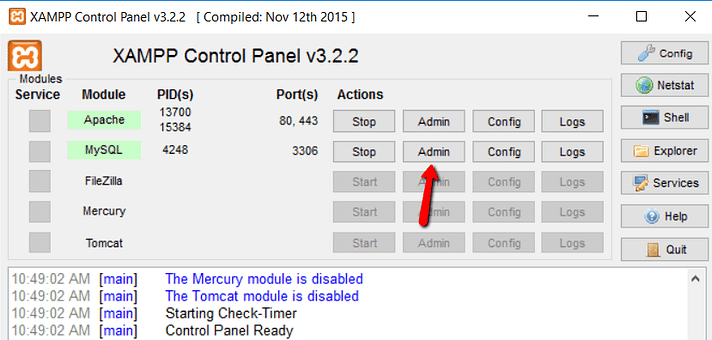
In the Control panel, click on the Start button to launch both modules
After launching them, their status turns green, indicating that they have started running
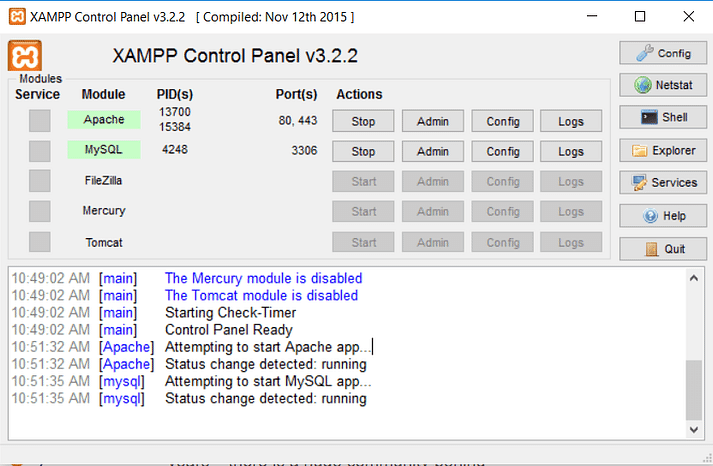
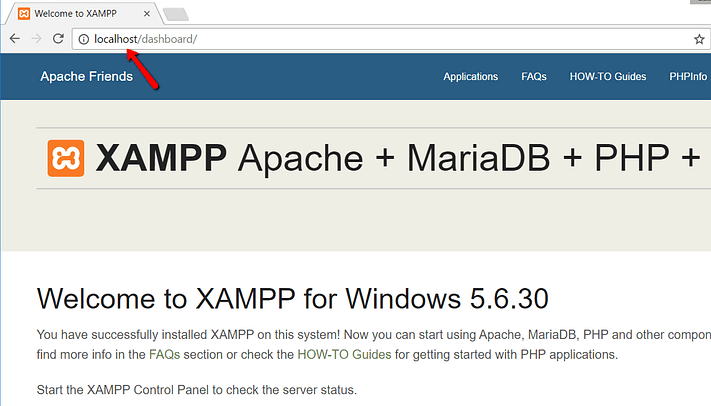
To test that your local server is working, go to your web browser and type in: http://localhost/. If your local server is working, it will display the window as seen below
Next is to install your WordPress files
Step 3: Install WordPress Files
To add WordPress files locally, go to www.wordpress.org and download the latest version of WordPress
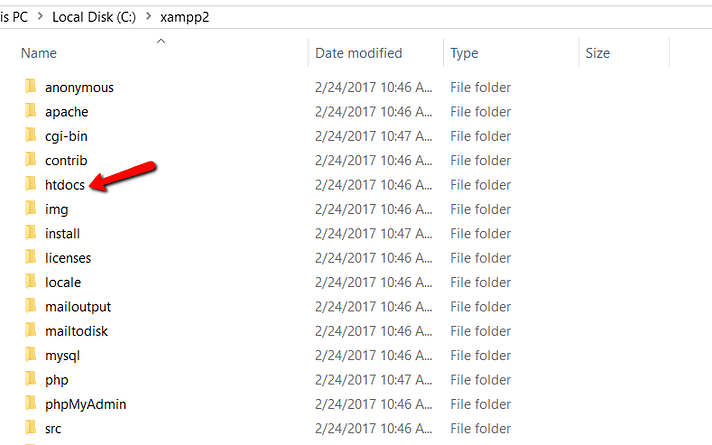
Go to the folder where you installed XAMPP on your Windows and search for the htdocs folder.
Open the htdocs folder and create a new folder in it for the new site. You would want to give it a name that is easy to remember and locate. In this case, let’s call ours test site.
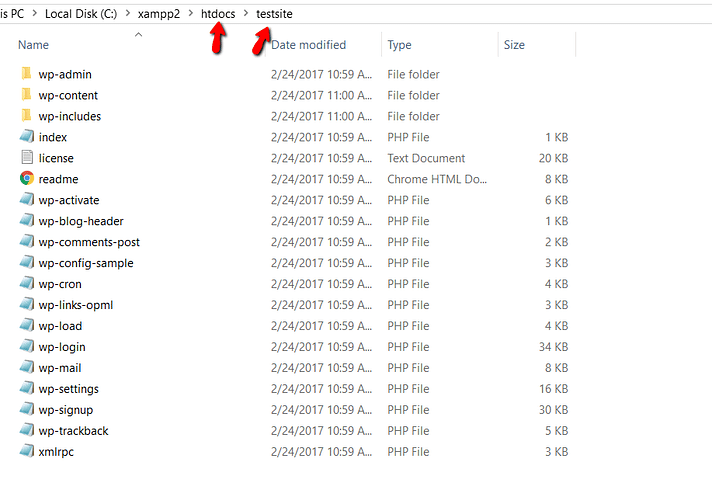
It is also important to note that the folder name given will be used to access your site when testing it in your web browser. Again, in this case, we can check our site using http://localhost/testsite on our web browser.
After creating the folder named test site, extract the WordPress file you recently downloaded into it.
Step 4: Create a WordPress Database
Now, you would need to create a database for the WordPress you installed. You can do this using MySQL.
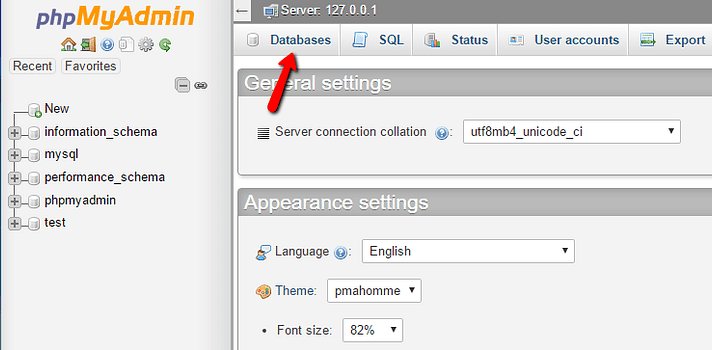
Go to your XAMPP control panel and click the Admin button for the MySQL option.
This opens the phpMyAdmin window. Click on the Databases option on the top part of the window.
Give your database a name. It is also essential to also use a name that you can remember because you will need it in a minute!
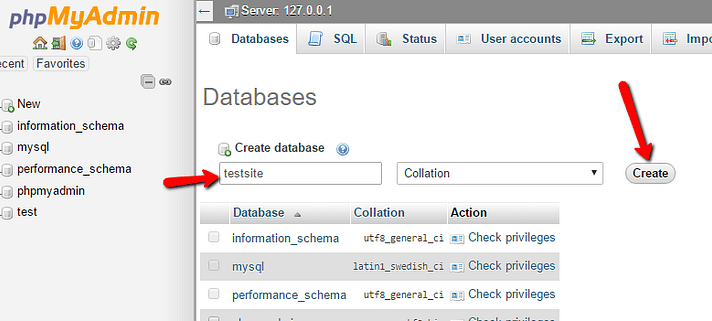
When creating a database locally, you don’t need to create a username and password, unlike building your website live. Click on the Create button.
Step 5: Install your WordPress Locally
Revisit your site using the link: http://localhost/testsite, this time you would see the WordPress installer
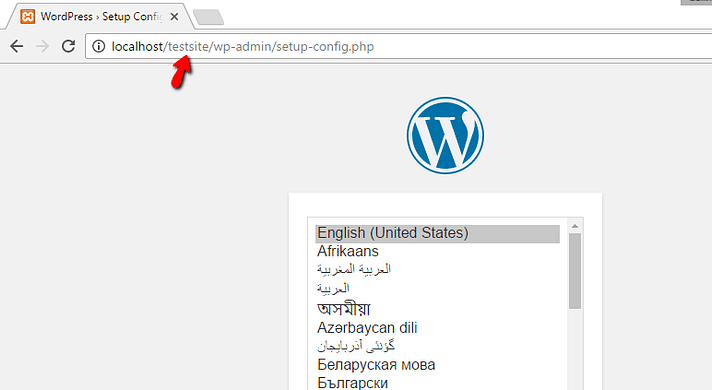
You would see the information that will be required during the installation process. Click on Let’s GO
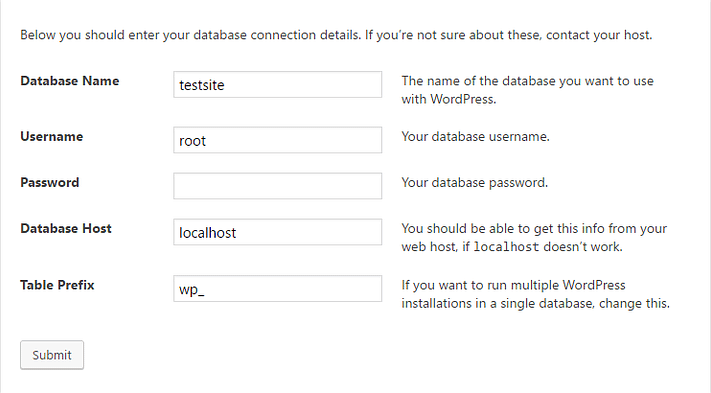
Fill in the required information. Your database name is the name of the database we created initially, Username is the root.
Click on Submit
Next give your website a title, fill in your username and password. Click on Install WordPress
Now your WordPress was successfully installed, it is time to log in.
You can access your local WordPress site by going to localhost/testsite, and WordPress admin by going to localhost/testsite/wp-admin
Conclusion
Installing WordPress on your Windows is quite straightforward and once you get a hang of it, you can go on to test as many websites as build before going live. We recommend the use of XAMPP because of its simplicity but feel free to try out other local server applications.
Have you installed WordPress on Windows using a different method? Feel free to share with us. If you encountered any challenges while installing WordPress using XAMPP, please reach out to us too. We would be happy to help out.